Recoloring damaged race leathers is pretty simple.
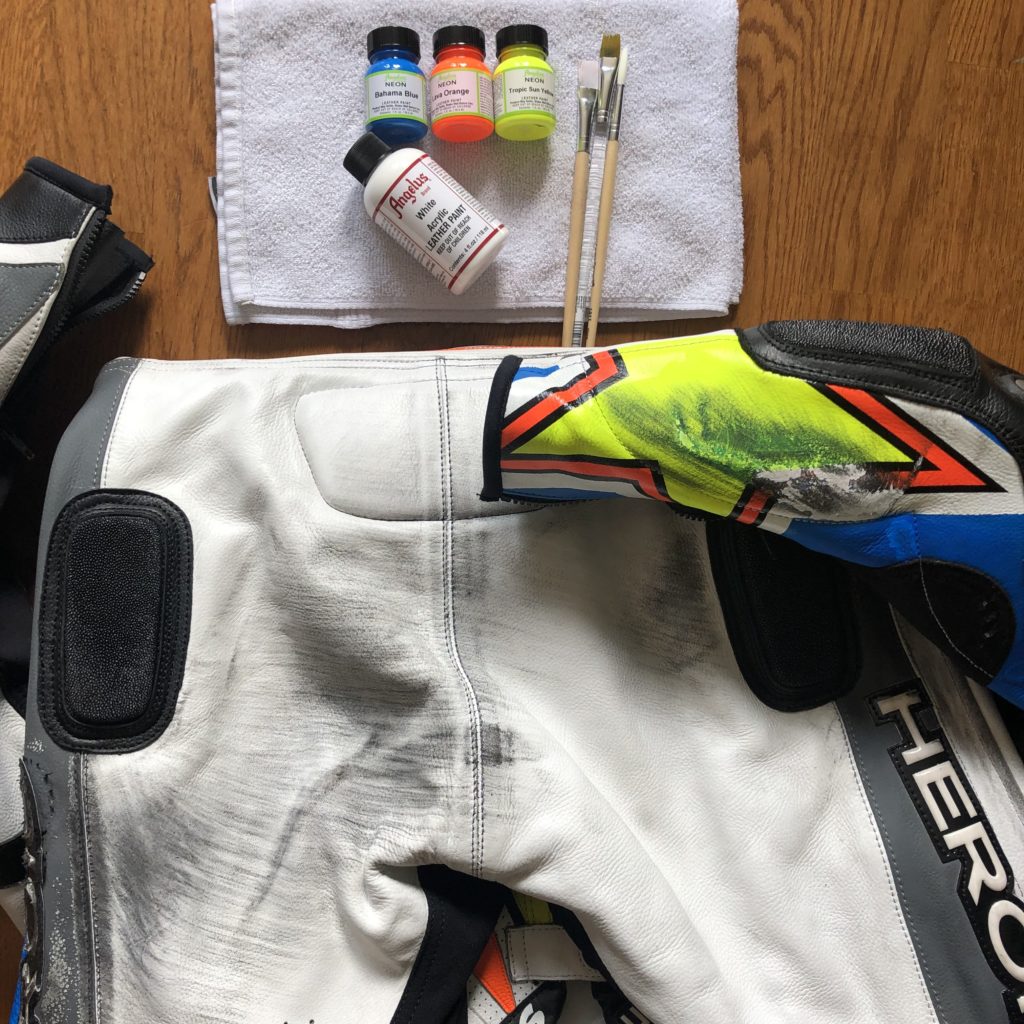
Step 1: Color match your leather paint to the best of your ability. I used white, black, neon Tropic Sun Yellow, neon Lava Orange, and neon Bahama Blue. For the dark gray parts of my suit that were damaged, I decided to be a little cheap and mix the black and white paint until I got a match. I’m pretty lucky that a local art store has a good selection of leather paint, so I was able to see the colors in person. The smaller 1 oz bottles are about $3, the bigger 4 oz bottles are about $6. It’s highly unlikely that you will go through an entire 1 oz bottle of paint unless you’re recoloring the entire suit- this paint lasts a long time, and it’s tough.
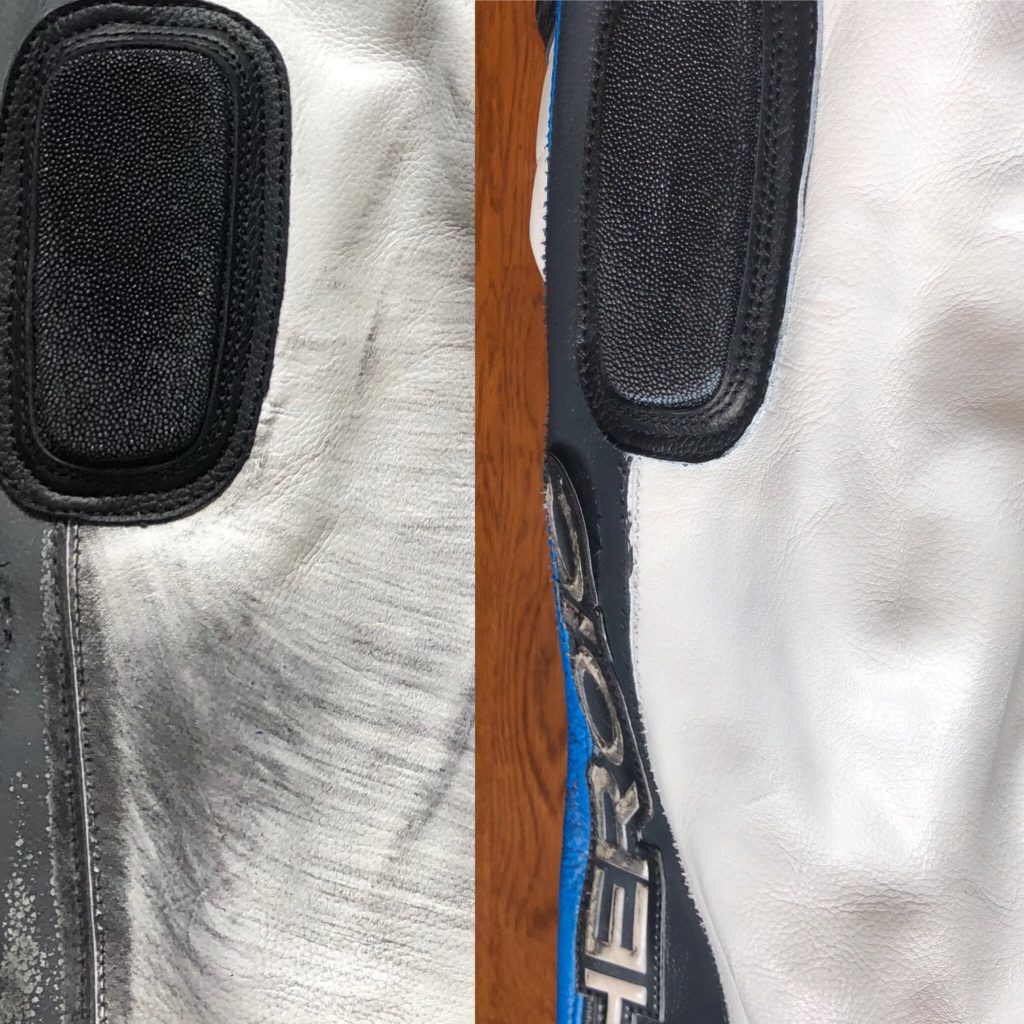
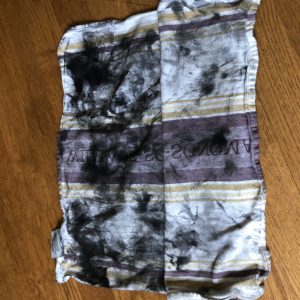
Step 2: Clean all the damaged parts of your leather.
Tar is gross- I used Goo Gone to get the tar off, then washed off the Goo Gone residue with soap and water to get a nice clean base. This is how much tar came off the seat of my leathers after a crash!
Step 3: Prep the area
If you don’t have any other damage to your leathers, feel free to clean and wipe the leather with rubbing alcohol or acetone to remove oils that have built up. Most commercial race suits have a clear protectant sprayed over the colors as well; the alcohol helps remove some of the clear coat. Once that is done, begin masking. Larger areas of damage don’t necessarily need to be masked off, but smaller areas and patterns may need to be protected.
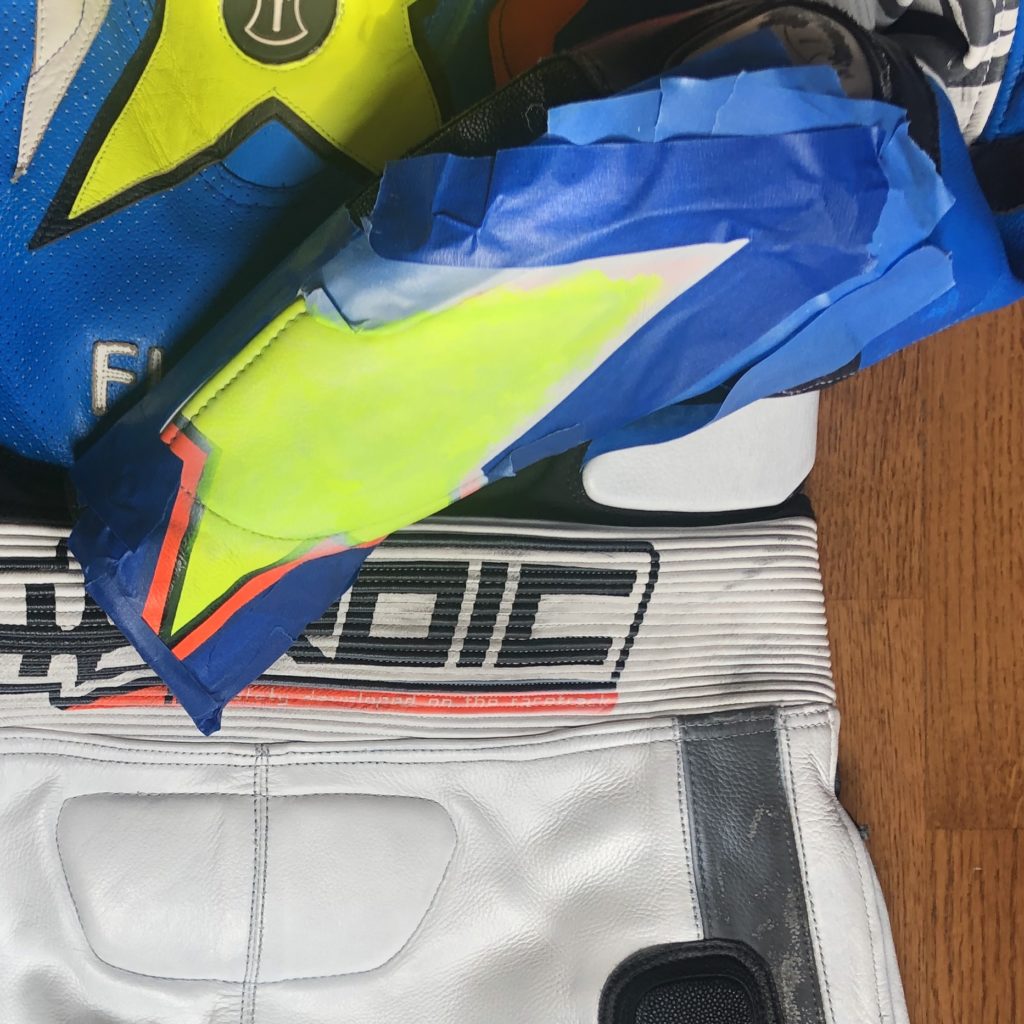
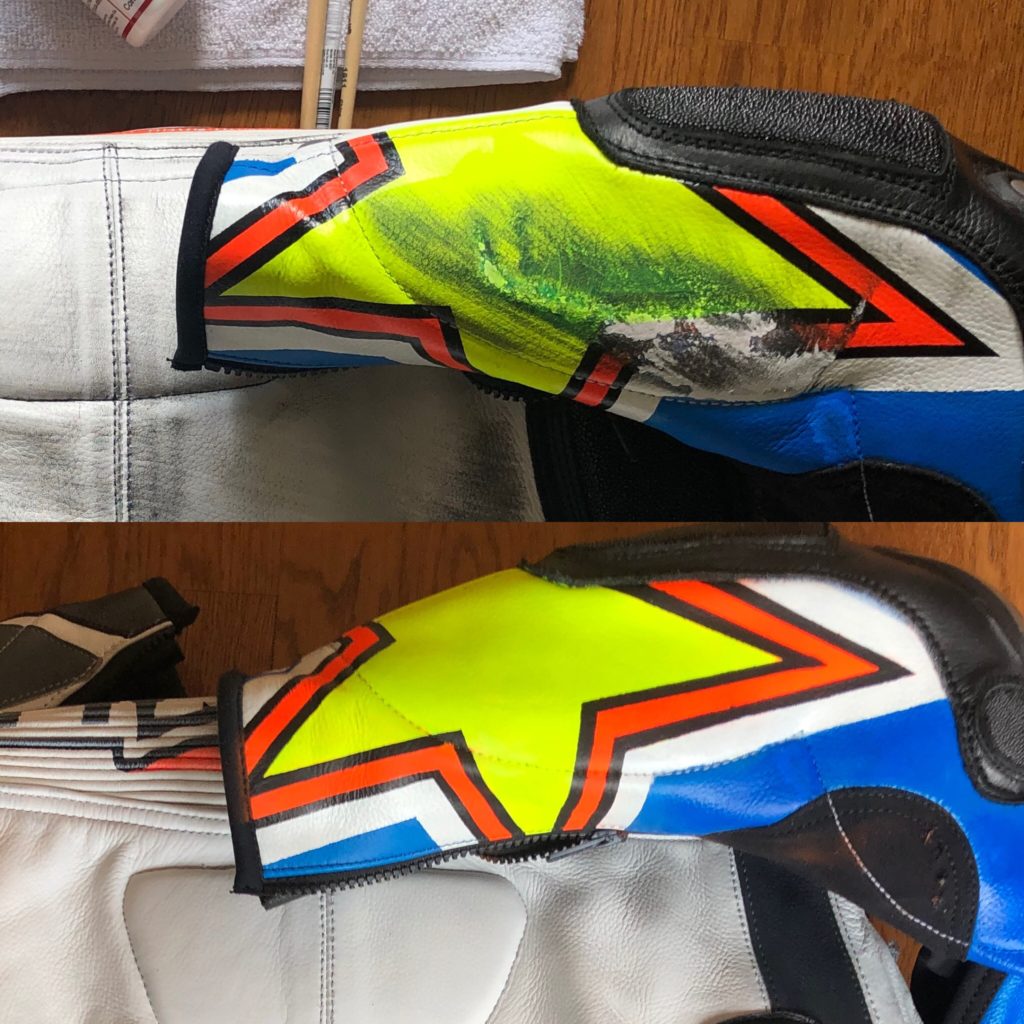
For the star, I had multiple colors that needed to be layered in a specific order and required multiple removal/masking steps.
Step 3: Paint!
Use a multiple thin coats of paint over the damaged areas and let those coats dry between sessions. I used slightly watered-down paint and a hair dryer to speed up the process.
To recolor the damaged star pattern on my suit’s arm, I also had to (LIGHTLY) sand the edges of the damaged paint that were peeling up first. This pattern had multiple layers of different colored paint on it and was pretty thick, so that’s why I chose to sand it. This could also be achieved with multiple swipes of acetone or alcohol if the previous paint pattern wasn’t as thick.
If you have a bright color to paint: first layer white paint! Layer enough to give a good bright base to the area, then paint again in the bright color. Think about the color layers of your pattern, if you have one.
If you have a dark color to paint: go to town, but still use thin coats of paint.
It’s better to use less paint rather than more paint. Think Thin, using the layers to build up color. Take your time. 🙂
This is how the star was recolored:
First, white over everything that was damaged; dry it with hair dryer. Then mask off the parts that need to stay white so that it’s protected. Then neon yellow in the star center; dry it with a hair dryer. (I knew that I didn’t need to be extremely precise with the neon yellow because any ugly edges were going to be covered up by the other colors). Then mask off the parts that need to stay yellow, keeping the white parts masked as well. Then the neon orange; dry it with a hair dryer. Remove all the existing masking, and carefully mask again for the black outlines of the star. Paint the black outline; dry with a hair dryer.
Step 5: Protect
Give your leathers the same protectant and shine as the factory did. Neutral leather paint dries clear, and if you hate gloss you can always buy the matte version.
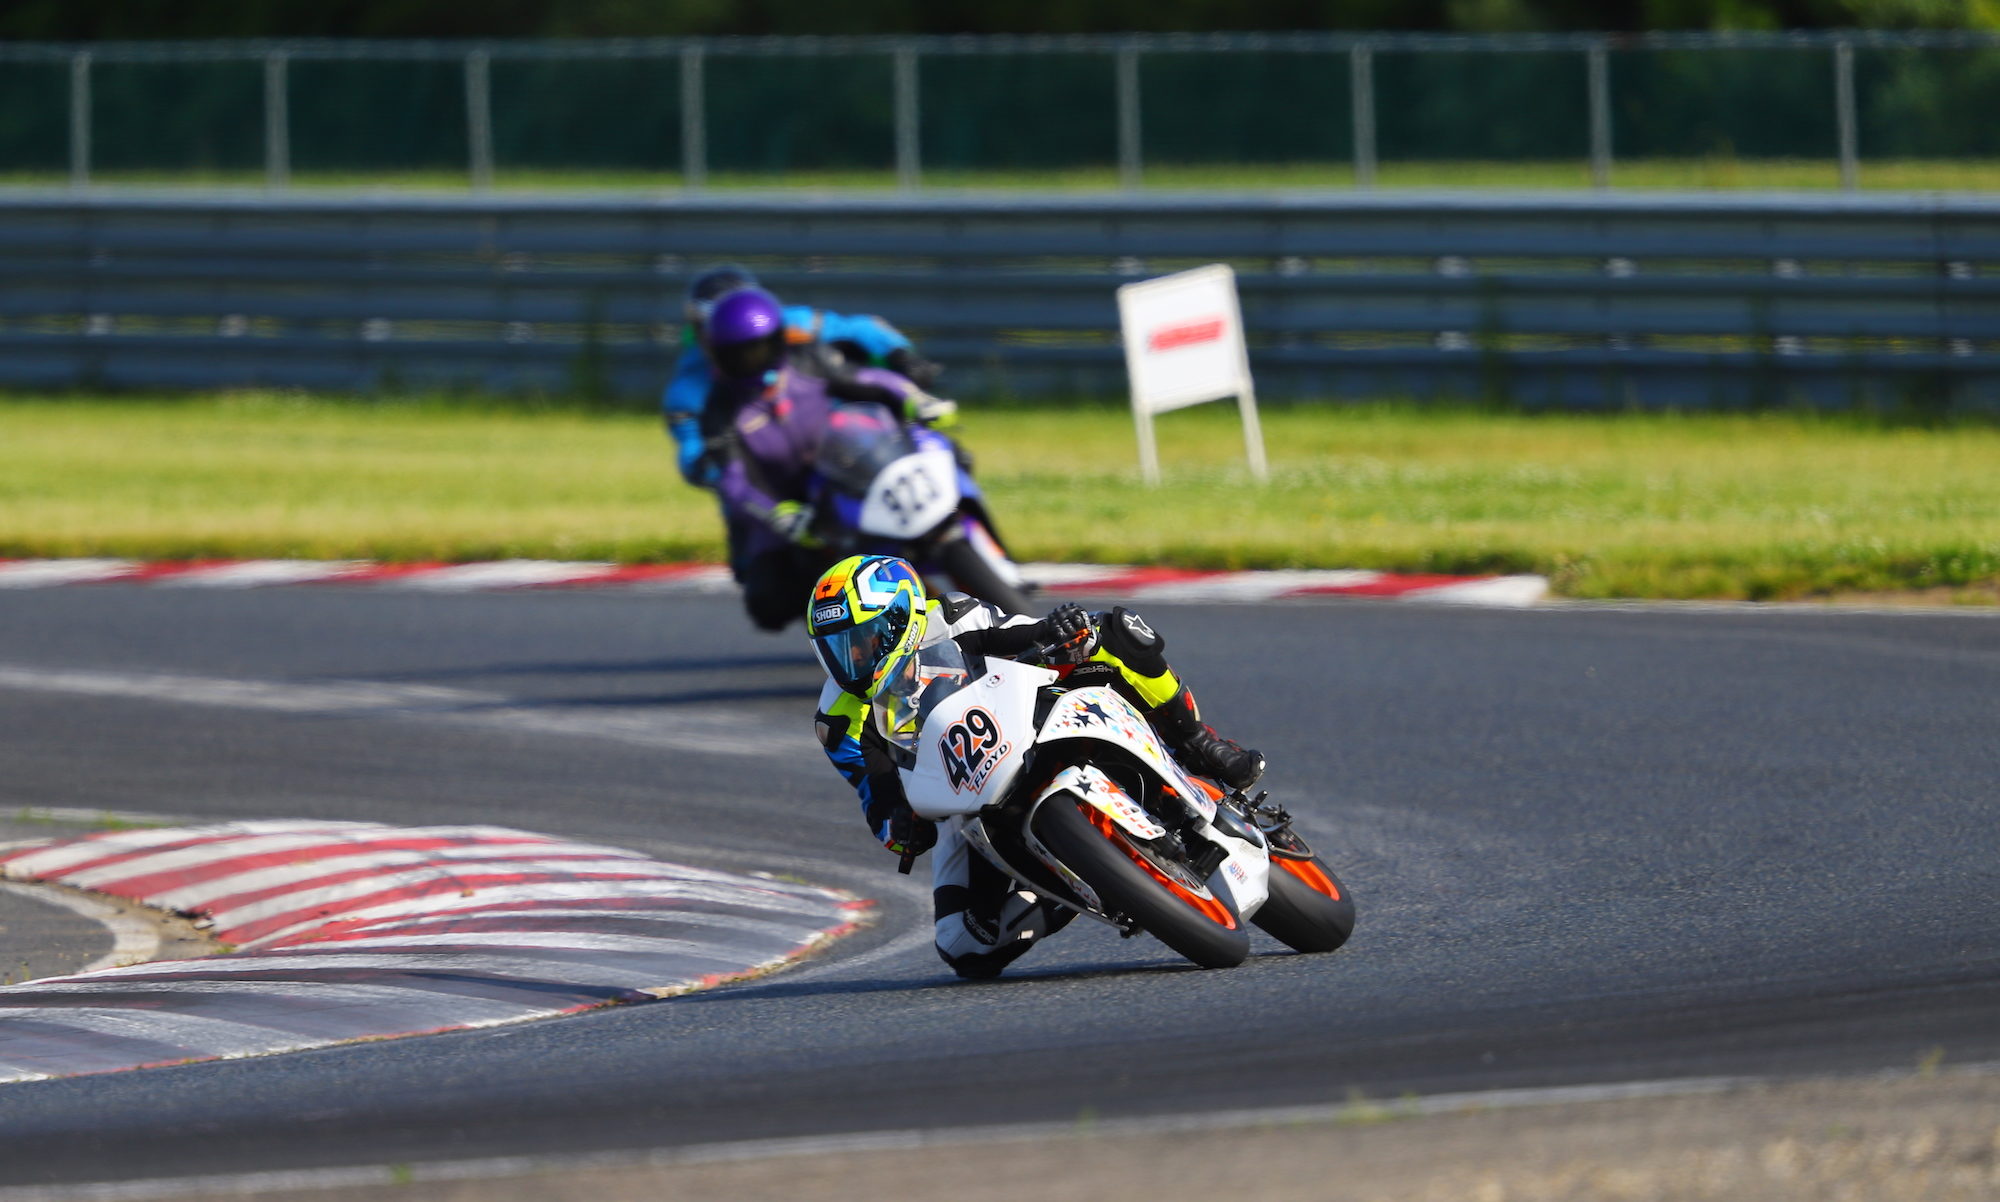
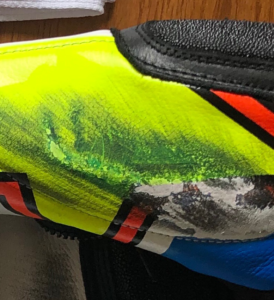
Step 6: Enjoy the fruits of your labor
I can see a few spots that I messed up because I didn’t mask well enough initially, but I’m otherwise very pleased with how the most damaged portions turned out.